Hey all – has it really been 3 years or more since I’ve posted anything here? I just launched a new website – the other day in fact – that will also include a blog. So, if I’m being practical, I don’t really need this space anymore. But after scrolling through the posts/years, and thinking about the evolution of my blogging (I started this one 10 years ago and had a separate one on healing for a while) and looking through past posts and photos of my work (many of which I deleted because the work was so bad), I couldn’t quite bring myself to let it go. I have a fondness for WordPress – it’s been an easy platform to learn and use and the people in this community are creative and inspiring. So, at least for the time being, I’ll leave this space be what it is and provide anyone who lands here a link to my new website if the interest is there to see what I’m up to now (the link is below). Thanks for reading, and thanks to everyone who has taken the time to read my posts and leave comments. It was and still is very much appreciated. 🙂
I’ve finally managed to get some work done in the studio after a long hiatus, due to the new puppy’s arrival. This is one of the pieces that came out of the kiln this morning. More to follow once I have a chance to get my camera out again.
This little girl came to us a few days after Christmas – and I’ve been back and forth more times than I’d like to admit – on whether or not to keep her. So far since her arrival, I’ve been doing nothing else but caring for her, the same when my children were born. The exhaustion and panic attacks are familiar – but I know they will pass in time. So for now, I’m hanging in there.
What makes it particularly hard though, is that the studio doors need to be shut for a while. It’s no place for a puppy. I get anxious when I’m closed off from my work – work that is also therapeutic and keeps my energy grounded. Usually after the holiday rush, I take very little time off before launching in again. As soon as the New Year comes, I am bursting with fresh ideas, anxious to experiment with different techniques, revisit old glazes and try out new recipes once the shows are over and my regular production schedule is slowed down. But for now, I need to be content with this sweet face that is looking to me for shaping her day, and teaching her the skills she needs to get along well with our family, and I need to learn to sit still. I trust she will eventually learn to be good company in the studio – like my Marley before her – who I still miss deeply.
I just unloaded a kiln of mostly earthenware divided dishes. This is all new work for me and after doing black and white for almost 2 years straight, these bright colors are a welcomed sight to see.
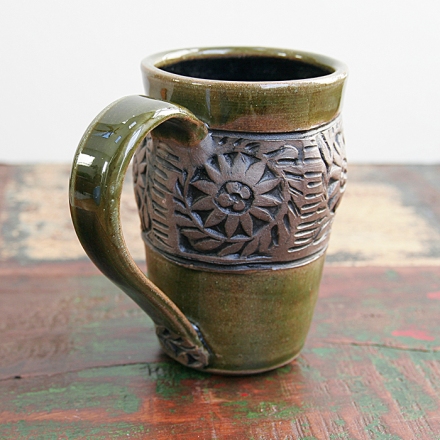
I was asked to make a series of urns in memory of my sister-in-law’s friend who was a gardener. Here is one of them, freshly carved and ready to go on a shelf to dry. Eventually, they will be glazed in a clear glaze with a light green on the inside. A subtle approach, but very much like the woman who’s ashes they will hold – small, delicately sweet and softly spoken.
I didn’t realize it until now, but I think the paint on the chairs in my kitchen inspired the direction of my latest test tiles with a new clay body – that and an amazing workshop led by Jeremy Randall last summer in Rockport, MA.